Article content
Introduction
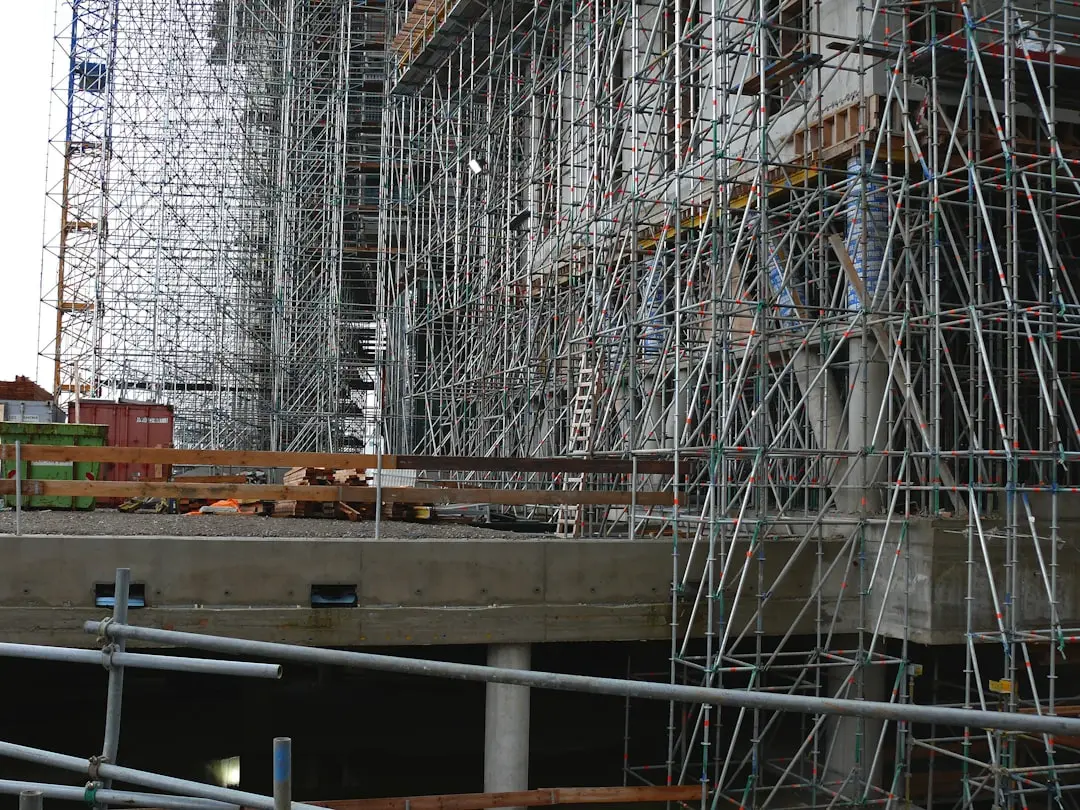
As anyone in the construction industry knows, scaffolding is a vital tool that enables workers to safely access and work on tall structures. Erecting a scaffold may seem like a simple process, but it requires careful planning, attention to detail, and a thorough understanding of safety guidelines.
In this blog post, we'll take you through the entire process of scaffold erection, from start to finish. By the time you're finished reading, you'll be a pro at scaffold setup and ready to tackle even the most complex projects with confidence.
Step 1: Plan and prepare
Before you even begin setting up your scaffold, it's important to take some time to carefully plan and prepare. This includes determining the location and size of the scaffold, as well as the type of scaffold that will be used.
It's also crucial to consider the intended use of the scaffold and the load it will need to support. This will help you determine the necessary size, strength, and stability of the scaffold.
Once you've determined the specifics of your scaffold, it's time to gather all the necessary materials and equipment. This will typically include scaffold tubes, couplers, brackets, base plates, and any other necessary components.
Step 2: Assemble the base
The first step in setting up your scaffold is to assemble the base. This typically involves placing base plates on the ground at regular intervals and attaching scaffold tubes to them using couplers.
It's important to ensure that the base of the scaffold is level and stable, as this will help ensure the overall stability and safety of the scaffold. It's also a good idea to use more base plates at the corners and edges of the scaffold, as these areas tend to be more vulnerable to movement and instability.
Step 3: Build the vertical supports
Once the base of the scaffold is in place, it's time to start building the vertical supports. This is typically done by attaching scaffold tubes to the base using couplers, and then connecting additional tubes to form the desired height of the scaffold.
As you build the vertical supports, it's important to ensure that they are straight and plumb, as any deviation from a true vertical line can compromise the stability and safety of the scaffold. It's also a good idea to use a spirit level or other tool to check the verticality of the tubes as you work.
Step 4: Add the horizontal braces
With the vertical supports in place, it's time to add the horizontal braces that will help give the scaffold its lateral stability. These braces are typically attached to the vertical tubes using couplers, and are placed at regular intervals along the length of the scaffold.
It's important to ensure that the horizontal braces are properly aligned and tightened, as any looseness or misalignment can compromise the stability of the scaffold. It's also a good idea to use diagonal braces at the corners of the scaffold, as these can help increase its overall stability.
Step 5: Install the platform
With the vertical supports and horizontal braces in place, it's time to install the platform that will provide a stable and secure workspace for workers. This is typically done by attaching planks or boards to the horizontal braces using special brackets or clamps.
It's important to ensure that the platform is properly secured and level, as any movement or instability can be dangerous for workers. It's also a good idea to use toe boards or other barriers around the edges of the platform to help prevent falls.
Step 6: Secure the scaffold
Before using the scaffold, it's important to take the time to secure it properly. This typically involves attaching guardrails or handrails to the sides of the platform, as well as installing toe boards or other barriers around the edges.
It's also a good idea to install kick plates or other barriers at the base of the scaffold to help prevent debris from falling onto pedestrians or other workers below.
Step 7: Inspect and test the scaffold
Before using the scaffold, it's crucial to thoroughly inspect it to ensure that it is safe and stable. This should include a visual inspection of all components, as well as a test of the stability of the scaffold.
To test the stability of the scaffold, it's a good idea to gently rock or sway it in all directions. If the scaffold remains stable and does not show any signs of movement or instability, it is likely safe to use.
Step 8: Use and maintain the scaffold
Once the scaffold is set up and deemed safe to use, it's important to follow all safety guidelines and procedures while working on it. This includes wearing proper personal protective equipment, such as hard hats, and using the handrails and toe boards as intended.
It's also important to regularly inspect and maintain the scaffold, paying particular attention to any components that show signs of wear or damage. This can help ensure the continued safety and stability of the scaffold and protect workers from potential accidents or injuries.
Conclusion
Erecting a scaffold may seem like a simple process, but it requires careful planning, attention to detail, and a thorough understanding of safety guidelines. By following these steps and taking the necessary precautions, you can set up a safe and stable scaffold that will provide a secure and reliable workspace for your workers.